Mike and I are pretty casual about interior design. I’ve always loved the idea of having a bright and beautiful home, and adding our own special touches, but it’s never been as high priority as, well like, eating and traveling. lol. I LOVE looking at other people’s gorgeous homes, and I’ve gone through phases like, oh I’ll put a gallery wall here, and oh we can do this there, but those choices have been pretty few and far between.
Our furniture has generally never really matched the room (we got a steal of a deal on two used, black leather couches off the Facebook Marketplace a couple years ago that we could not pass up!) and I’ve *always* wanted a lighter and brighter kitchen, but that’s always been put off as a future project.
Possibly we held off on doing these things because we knew our previous homes weren’t homes we’d be in “forever” (or close to forever / a long time). And that’s likely why we’ve been a lot more intentional about interior design choices for our current home, which we are celebrating two years in this year, 2020.
It’s been a very slow process, and will likely continue to be a slow process, but we are taking things room by room, project by project, and I’m really happy with how it’s going! We even now have something of a timeline.
I love the furniture I picked for my office (a mix of Wayfair Canada and the Facebook Marketplace) and our library (a mix of Wayfair Canada, IKEA, and Facebook Marketplace). We also painted our front porch white and front door yellow, which I am obsessed with!
Those were Year 1 projects (that I will eventually blog about it, lol) and now into Year 2, we’ve finally re-painted our bedroom (which I am blogging about now!)
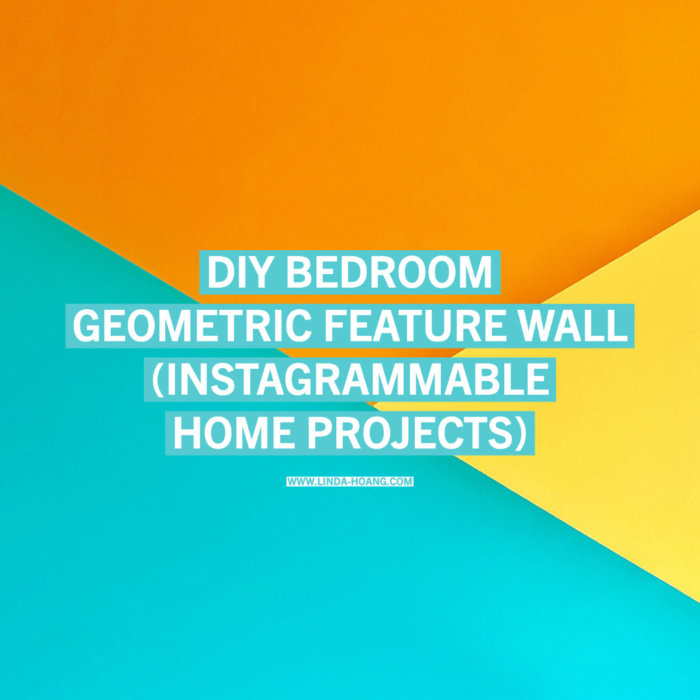
Our DIY Instagrammable Feature Wall Bedroom Project
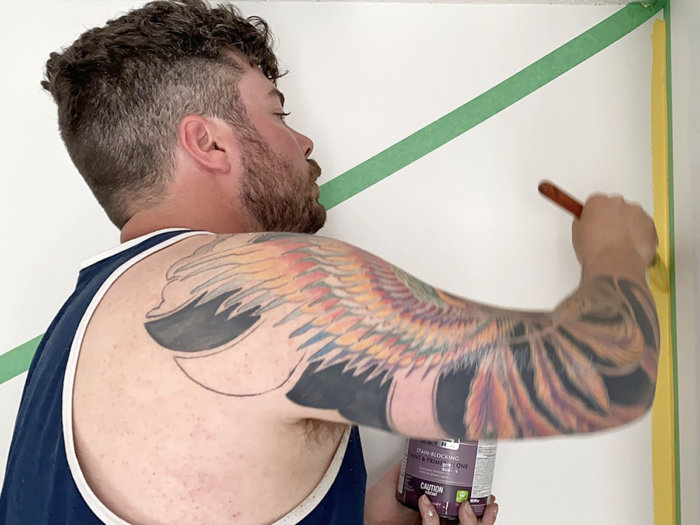
The decision to repaint our bedroom came as a result of wanting to repaint our living room, kitchen and entryway. I was going to hire painters to do this work but Mike decided he could take this on during his weeks off from work. He wanted to start with our bedroom to feel out any issues that might arise before attempting more high-traffic areas of the home. (Strategy! lol)
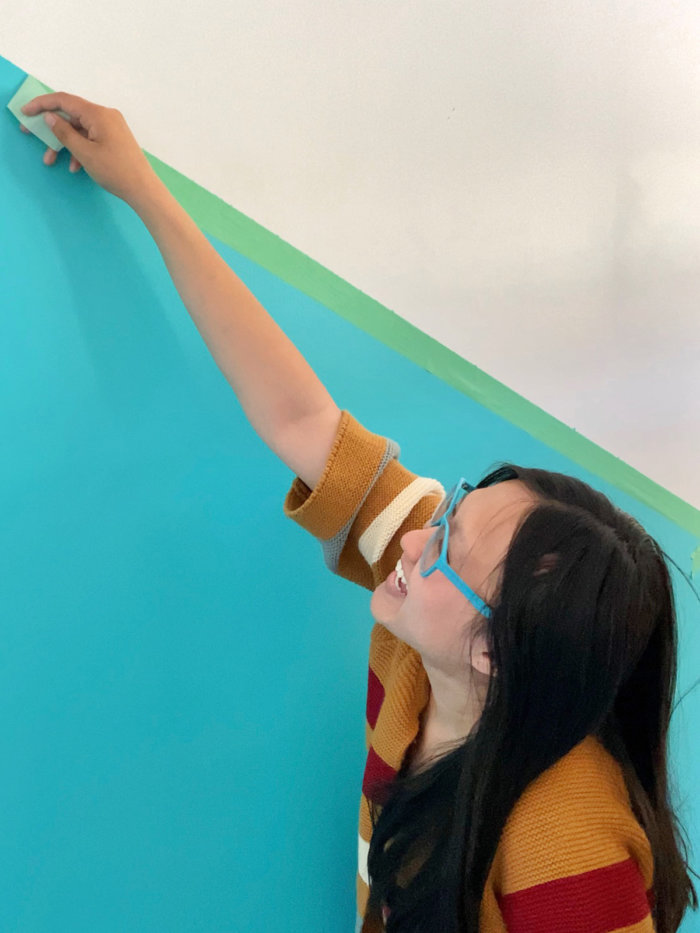
Now in anything home-related, we have this joke (or is it a joke? lol) where I say that Mike executes my vision. It is of course a collaborative effort, but usually I cause more of a mess than am helpful with some of these hands-on projects, lol. so I stick with determining colours and styles and am hands-off for painting (though he did allow me to remove tape for one of the paint layers, ha!)
I had asked for follower feedback on potential paint colour options before the project started (see the Instagram Story Highlight and this Tweet—thanks so much for your feedback), but in the end, none of the original options really ended up being the one we picked, LOL.
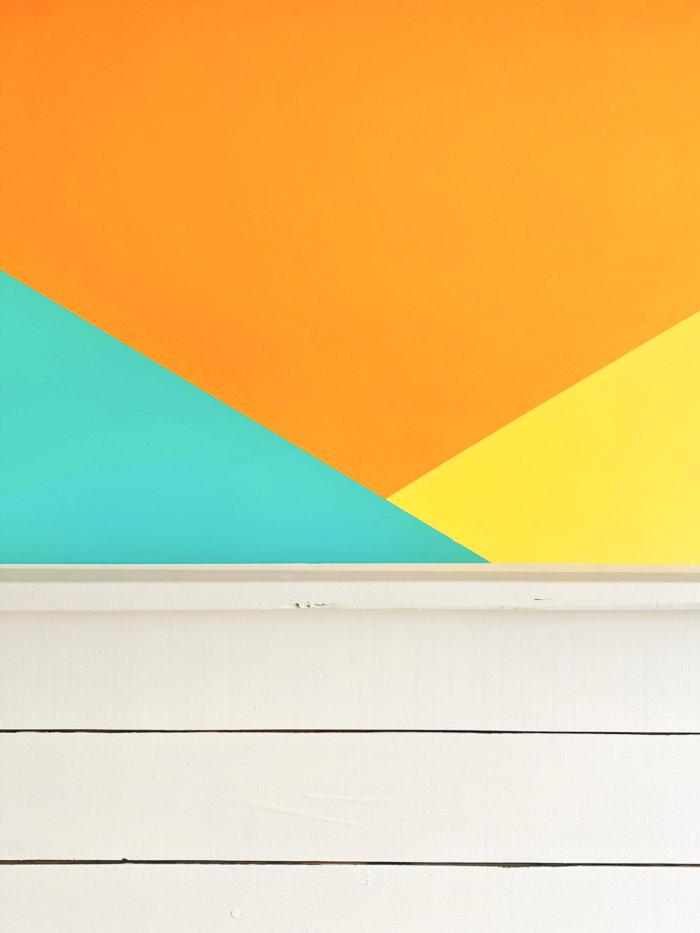
It was really interesting and helpful to get your takes, for instance, I didn’t realize just how many of you LOVE blue for a bedroom, and a few messages about “something more Instagrammable” did end up leading to the three-colour split geometric design we landed on.
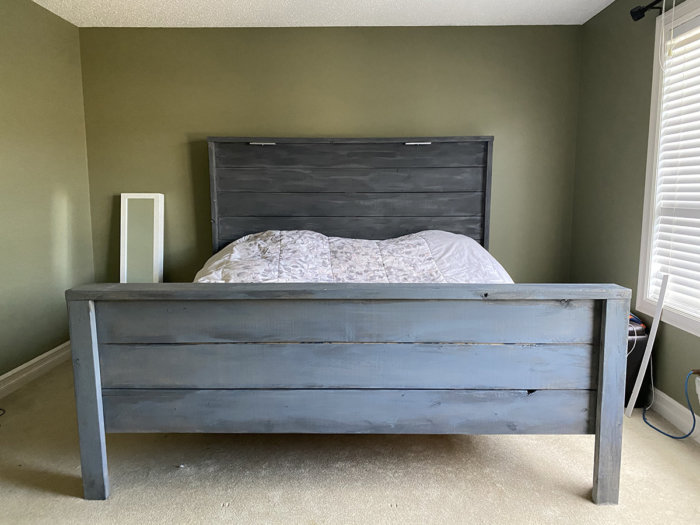
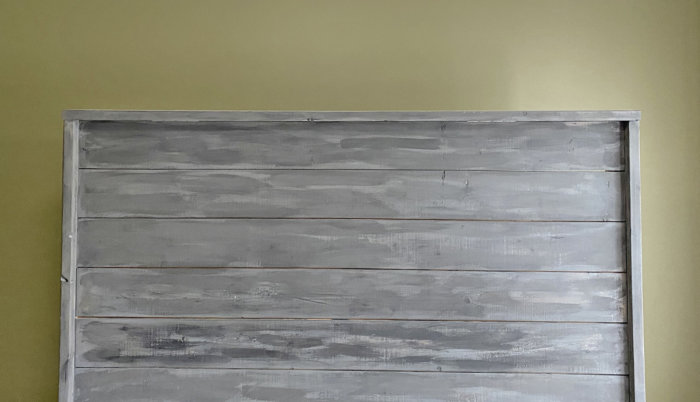
We also had some suggestions to cut the end of our farmhouse style bed frame to make the room feel more spacious, and from that Mike also suggested we shave off the top few layers of the headboard as well, because we really didn’t need the height. Because of THAT, we also decided to move the bed entirely so that I would be able to use the wall for Instagrammable photo purposes—which in the end also ended up making the room feel bigger! Oh, and we painted the bed frame white! (Side note: our bed frame was built by Grace & Grain, a talented local Edmonton area duo).
Many win wins and in-process decisions were made, which I really didn’t mind and I think our ‘casual’ approach to interior design helps make DIY things like this easier and more flexible.
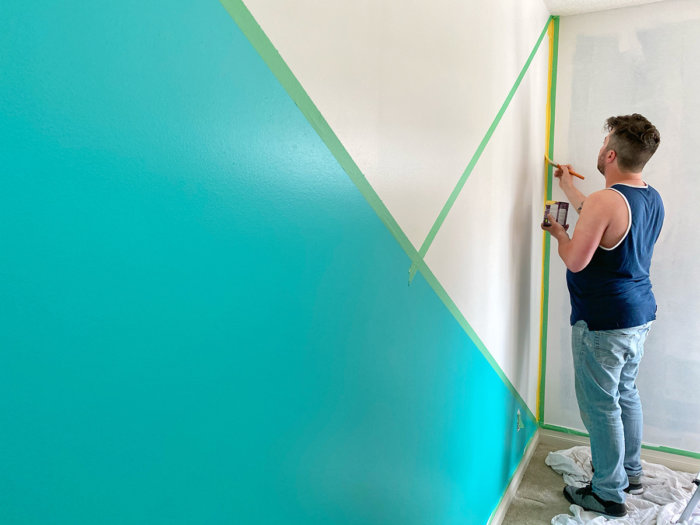
Below are a few before, during and after photos of our new Bedroom!
Followed by some painting tips + information on tools and paint we specifically used.
We are also waiting for new sheets and a blanket so I haven’t captured a full “After” bed photo yet.

3-Colour Geometric Feature Wall (DIY Paint Job)

What we used:
- White Paint (for Walls): Nano White
- White Paint (for Bed): Nimbus Cloud
- Teal Paint (for Feature Wall): Island Aqua
- Orange Paint (for Feature Wall): Acapulco Sun
- Yellow Paint (for Feature Wall): Yellow Jubilee
- Painter’s Tape (not sure of brand lol)
- Paint rollers, brushes and trays
- Adobe Photoshop to mock-up paint colours and see how they might look together
Paint Note: all paint was Behr brand from Home Depot, except for a refill on the white, because we didn’t get enough the first time around, and apparently so many people were doing paint projects when we were that our nearest Home Depot was out and we ended up getting a fill-up at Cloverdale Paint.
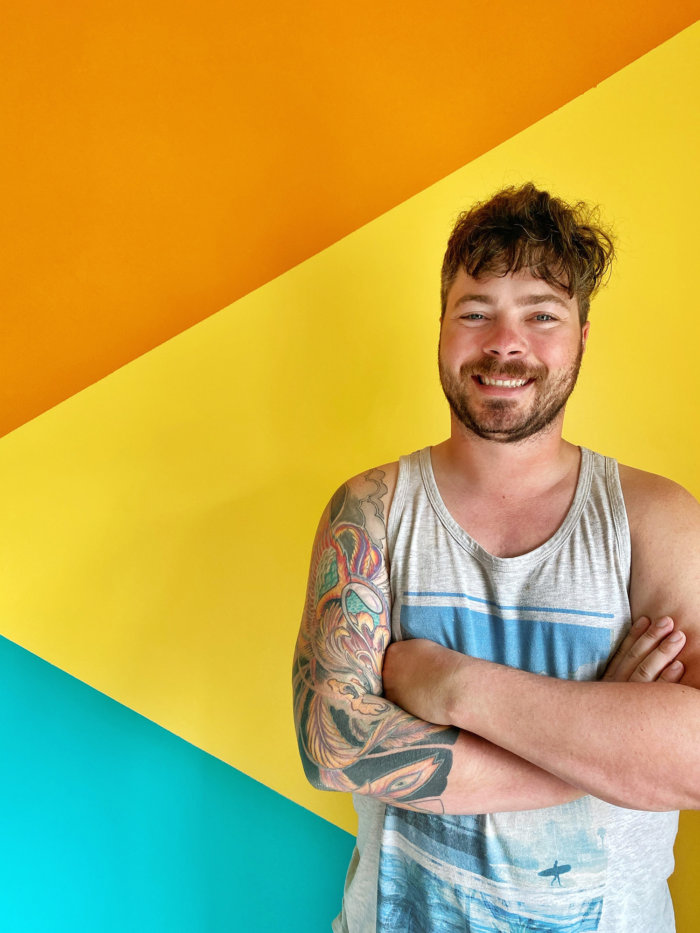
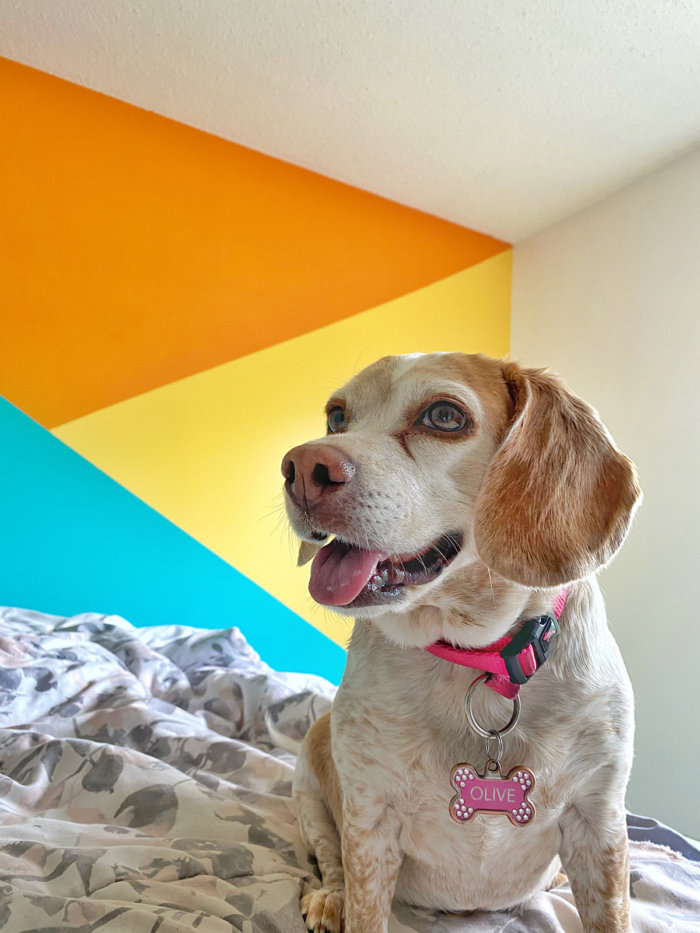
And, although it was unintentional, in the end, Mike, a Pokemon fan, said our Instagrammable Wall colours represent Pokemon Charmander, Squirtle and Pikachu, lol. That was not the original intention, but that’s fine lol. To me, the new, bright colours give me sort of California, beach vibes. It’s very happy and makes us very happy! Truly amazing what a fresh coat of paint can do to change the feeling of a room or your own mood.
In terms of shaving down the bed, for tools, Mike used a Milwaukee circular saw and a Milwaukee reciprocating saw. (I guess he is a Milwaukee tool guy). I was skeptical at first about the idea of shaving down the bed (I wasn’t sure how difficult it would be) but with the saws, it was *really* quick + easy!
A Few DIY Painting Tips (Lessons Learned) from Mike:
- Tape everything!
- Follow up cutting (using a brush) with a mini roller immediately to create a more uniform paint job.
- Spring for medium to high paint coat for noticeable difference in quality.
- Apply at least two coats of paint per colour you use.
- Leave ample time for drying in between coats (and colours).
- Get more paint than you think you need (or measure better) to reduce repeat trips to the store.
What’s next?
I’ve got my “vision” for two Instagrammable Walls in my office so those will be the next painting projects (to be completed by end of June 2020). We also didn’t end up repainting our bathroom so that will need to come soon too. From there we will likely paint the main floor bathroom and then go into entryway, living room and kitchen (to all be completed hopefully by end of 2020).
From there, we’d look at updating living room furniture. The used steal of a deal couches we got two years ago are kind of falling apart now so that’s the furniture priority but I don’t want to get those until we land on living room colours as we’re being more intentional about these home projects than in past.
Please let me know what you think about our new Instagrammable Bedroom Feature Wall!